I teamed up with Missouri Star Quilt Company to make a special pillow project using their cuddle fabric! I also made this fun video for Instagram.

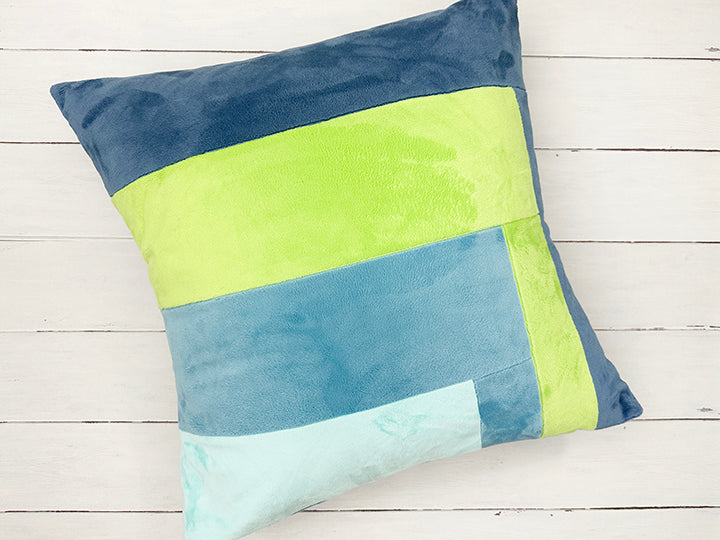
I love this pillow because it's so fluffy and it's 24" so it's bigger than my regular pillow tutorials! This would be a great floor snuggle pillow for kids or pets! My Yorkie Chubacca approves!

I used the Cuddle solids from Missouri Star Quilt Company in the colors Jeans, Aruba, Dark Lime, and Lake. The cuddle fabric can be a bit challenging to work with since isn't really stretchy in one direction, but using lots of pins and clips really helps. I decided on a simple mod log-cabin design for this project to minimize the number of seams avoid any tricky angled pieces.

CUDDLE PILLOW TUTORIAL
PATTERN NOTES
- Please read through all instructions before beginning.
- Seam allowances are 3/8" on cuddle fabric or a standard 1/4″ on quilting cotton.
- Press all seams open (or in preferred direction). If using cuddle fabric, hand press seams.
- You'll need at least a 24″ pillow form. If using minky, you'll want a bit larger pillow form (26"-28") to make sure the pillow case fills out enough since the fabric is stretchy.
MATERIAL REQUIREMENTS
This pattern uses 4 fabrics [FABRICS A-D]. Below are the requirements to make ONE 24″ block. The pillow backing is included.
Note: If you'd prefer to use a different fabric for pillow backing, reduce FABRIC A to 3/8 yard and use 3/4 yard for the backing.


CUTTING DIRECTIONS
From BACKGROUND FABRIC A, cut:
- (2) 16” × 24½” [A3] - pillow backing
- (1) 6½” × 24½” [A2]
- (1) 3½” × 18½″ [A1]
From ACCENT FABRIC B, cut:
- (1) 6½” × 21½” [B2]
- (1) 3½” × 12½" [B1]
From ACCENT FABRIC C, cut:
- (1) 6½” × 18½” [C2]
- (1) 3½” × 6½" [C1]
From ACCENT FABRIC D, cut:
- (1) 6½” × 15½” [D1]
PIECING DIRECTIONS
1. Lay out the C1, C2, D1 pieces as shown below. Sew the C1 to the right of the D1 and press the seam.
2. Sew C2 to the bottom of the C1/D1 unit and press the seam.

3. Lay out the B1 and B2 pieces with the previous unit as shown below. Sew the B1 to the left side of the unit and press the seam.
4. Sew B2 to the bottom of the unit and press the seam.

5. Lay out the A1 and A2 pieces with the previous unit as shown below. Sew the A1 to the left side of the unit and press the seam.
6. Sew A2 to the bottom of the unit and press the seam.

10. Create a finished edge on the long side of each of the (2) 16″ × 24½” pieces of envelope backing by folding 1/2″ of fabric over the wrong side TWICE. Stitch a seam near the edge to secure it.
11. With the square top facing up, layer the envelope pieces RST on top of it as shown below and sew a 3/8″ seam around the edge of the pillow top.

12. Trim the edges of the corners a bit to if you want to reduce bulk. Turn the pillow case inside out and insert your pillow form. Your cuddle pillow is now done!
