Last month I started a new series for 2021 called Jumbo Blocks Rock where I take traditional 12" blocks, upsize them to 18", and give them a modern twist. January's Antique Tile Remix block (#1) was a variation of the traditional Antique Tile block. I used assorted basics from Riley Blake Designs to make an adorable pillow which you can see HERE.
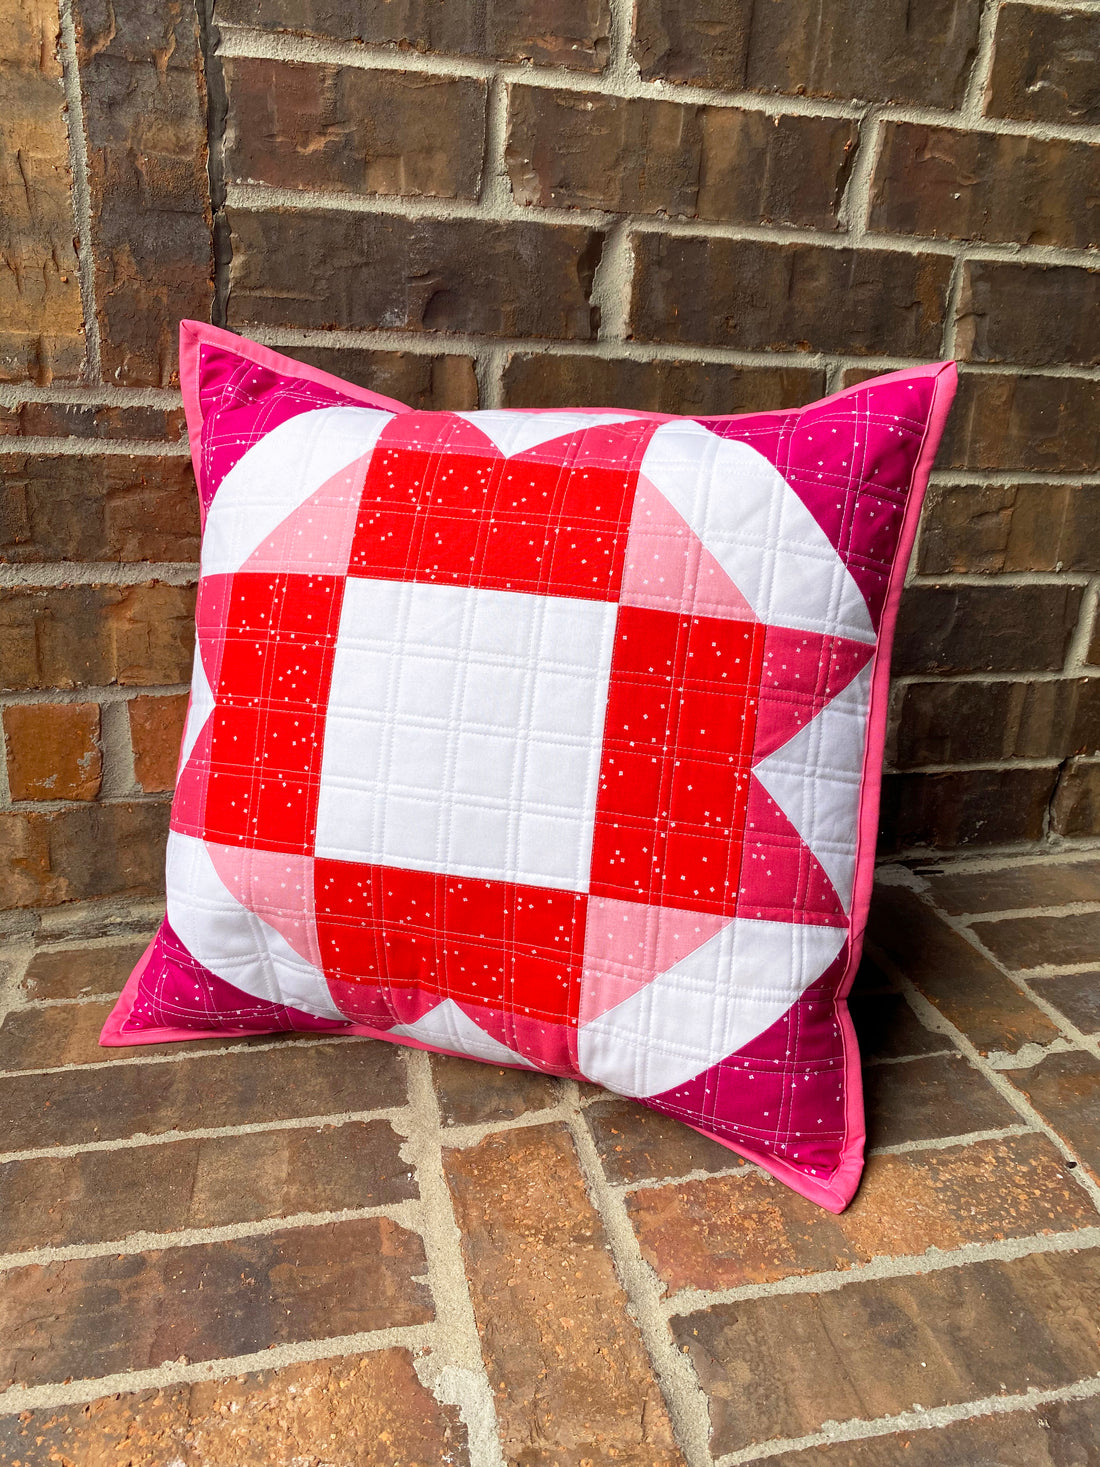
For this month I did a Maple Star Remix block, which jazzed up the traditional Maple Star block. For this month's fun pillow using from Riley Blake fabrics, I went with the Blossom line. Blossom was designed by Christopher Thompson is my absolute favorite RBD basic. I'm a big fan because it's just so versatile. It reads like a solid so it looks great as a background or an accent, plus it's extremely easy to match up those seams with the scattered flower pattern! And the color choices are fantastic!

It's February, so naturally I had to go with pinks and reds. I am normally not a huge fan of red, but I really love this vibrant Cayenne Blossom print, and I paired it with Cranberry, Raspberry, and Peony Blossom prints. I also used Confetti Cottons solids in Riley White for the background, along with Riley Hot Pink for the binding and backing. It definitely screams Valentine's Day to me. LOL!

I've been experimenting a lot with straight line quilting, so I went with a double line grid that I am really digging right now.


Gah, these colors just make me happy!

This quilting definitely gives my simple block pattern a bit more dimension! If you want to try it yourself, I've included a tutorial for you below! And of course if you want to make the Maple Star Remix block, you can find that tutorial HERE.


DOUBLE LINE GRID QUILTING TUTORIAL
1. Using a Hera marker, mark a line through the center of the block. We will work on quilting one side of the grid at at time.

2. Mark out all your horizontal lines. This pillow has 6" finished block sections, so I marked 1½ lines out from the center. Once your lines are all marked, stitch over them. I used white 50wt Aurifil thread.

3. Next, go back and stitch a second line on one side using the edge of your presser foot. It really doesn't matter which side you pick as you are consistent. I did ¼" spacing here between the lines.


4. Now you just repeat the process for the vertical lines. Mark the lines, stitch over, then add the second line.


Just like the triple line diagonal quilting I did last month, this process is also quick and easy, and you end up with a kind of simple plaid quilting pattern at the end!
If I was using this double grid on a whole quilt, I would go with a bigger space between lines, like 3" to reduce the density of the quilting. Then for my side line, I might even want to go a bit bigger like 1/2".
What combo of RBD basics would you use for this adorable pillow?
Until later, happy sewing!
Jamie

