Last month I started a new series for 2021 called Jumbo Blocks Rock where I take traditional 12" blocks, upsize them to 18", and give them a modern twist. Each month I've been also making a fun pillow using assorted basics from Riley Blake Designs. In case you missed them, here are the pillows from January and February.
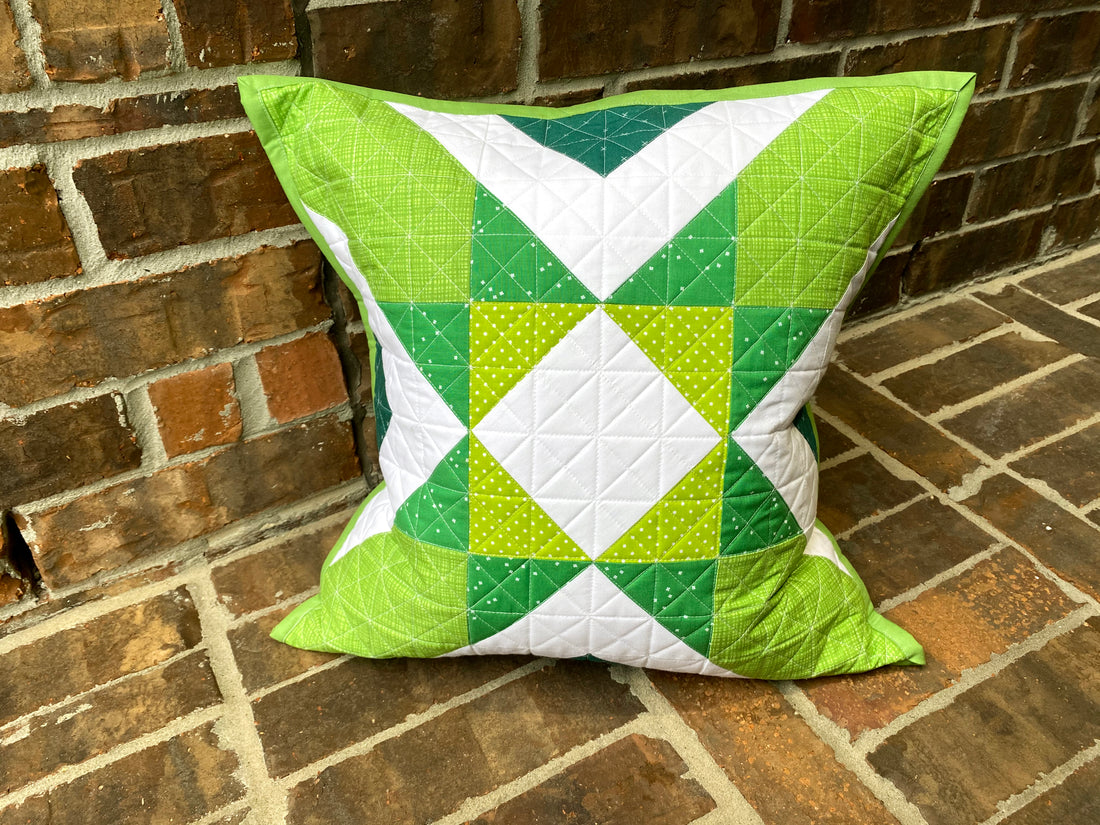
For this month I made an Amish Star Remix block which jazzed up the traditional Amish Star block. For this month's fun pillow using from Riley Blake fabrics, I had to go with green because today is St. Patrick's Day! I actually had quite a few green basics prints to choose from. My favorite green print has to be the Texture print in Turtle. Texture really is a fun basic and comes in so many great colors! I think it's my second favorite after Blossom.
I ultimately decided on Texture in Turtle, Bee Cross Stitch in Jade, Blossom in Emerald City, and Swiss Dot in Lime. I also used Confetti Cottons solids in Green Smoothie and White.

I snapped this photo before I put a pillow in it, and it actually looks adorable as a table topper too!

My goal was a festive St. Patrick's Day pillow and I think I achieved that!

I think I'm definitely going to have to make a table runner like this for my table. It's so festive!

For quilting, I first did a regular square grid with the lines about 1½" apart. Then I went in and did a diagonal grid between those lines. I love the texture it gives this pattern!

18" Envelope Pillow Tutorial with binding
To turn your 18" jumbo block, it's really simple!
Supplies:
(1) 13" x WOF piece for the envelope backing - cut into (2) 13" x 18½" rectangles
(2) 2½" x WOF strips joined together and prepared for the binding
DIRECTIONS
1. Place the wrong side of the envelope backing fabric up and fold 1/2" over twice to make a finished edge. Stitch a seam across. Repeat for the other envelope backing piece.

To make my first seam, I find this Clover Hot Press Perfect Ruler really helpful!

Then you can easily fold it over a second time.

If you have a foot on your machine that makes a nice finished edge, you can use that too!
2. Next, put the 18" quilted pillow face down so the wrong side is on top. Overlap the two envelope pieces with the right side up so the seams are in the center, as shown below. Pin all the layers together and bind the top as normal.


It's just that easy! I seriously think I'm addicted to pillows because they are so fun to make. Everyone is definitely getting a pillow for Christmas this year!
If you want to make a pillow with out binding, you would use the same sized pieces and overlap them the same way, except you would pair the right side of the top and the right side of the backing fabric. Then stitch a seam all the way around the outside of the block and turn in side out.
I can't wait to see all the block and pillows everyone is making! Be sure to tag me @sewbrainy on Instagram so I can check them out!
Until later, happy sewing!
Jamie


1 comment
What beautiful blocks, they are just perfect.
Sorry, I’m just lost for words.
I’m sticking with you girl!